Very early days yet on this design. A couple of hours of measuring and sketching in Fusion360. Needs some finessing, but the principle is sound.
Given 90% of my printed things are quite short, (keyboards, Mini computer case prototypes and miniature monsters) I can comfortably make a very efficient 90 Degree bed resin drip drainer and keep the cover on!
Most drainers are maybe 20-40 degrees or so!
The new Drainer bracket in Yellow – Sits permanently on the printerAnd, the position of the bed when it’s rotated 90 Degrees. The Yellow bracket and the original ‘stick out bed holder’ clamp the bed sideways between then! The ‘curve’ bit stops the bed sliding too much to the right and ‘off’.
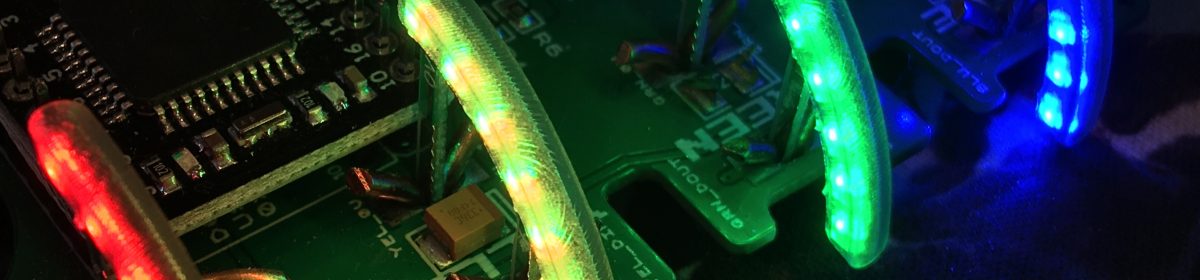
Arduino’s are still stuck in Limbo. I received 50 incorrect ones a long while back, ordered another 50 and they’ve been stuck somewhere in the UK for a couple of weeks now. I did order 10 locally at about 2x the price I normally pay to work through some of the waiting list, but that exhaused my supply of PCB’s
So, I ordered back at the beginning of February some more PCB’s
They arrived yesterday, and, I quickly soldered one up to test, so I can start ‘kitting up’ the keyboard kits.
I may have discovered an issue with the way that i’m Using EASYEDA, which has recently shown up in an EASYEDA update….it could be a bug, or a behaviour change, but, it’s B0rked my PCB!
This will set back the kit availability a couple of weeks whilst I address it and get new boards made. I know what the issue is, I can re-create it and have a work around to order more PCB’s so it’s no major worry
Here’s the C64 Keybaord matrix that i’m using. I’ve always used number prefixes for the number keys. i.e. if it’s A, I’ve used the PREFIX A, 1, Prefix 1, etc , etc.
Something changed in EASYEDA a couple of months ago which now means that Prefixes with a single digit number now all seem to tie their nets together.
Here’s the resulting PCB – Note, the nets for the centre pins are all the same!
I didn’t spot this in the one that I just had made! and despite the thoroughly heroic efforts of the JLCPCB staff to fix a couple of cockups i’d made , I have to now trash this batch .
Here’s what happens when I select the Net – ALL the numbers light up as they’re all connected!. oops
Ah well, off to learn a little more about EASYEDA, quite an expensive mistake though, but this shows why, when you make changes, testing is important.
You can imagine how amused I was when I discovered that EVERY key worked on my board, except the number keys, which only typed 0 or 9 !
In other news – I purchased one of these
An Ultrasonic Cleaner – Dual Frequency 28KHz and 40KHz. I’ll do another post about it later.
All i can say now is WOW – No need for the wash and cure station now! – this thing superbly and consistently cleans the prints, giving a good surface finish. Prior to this, it was impossible to get a good finish on every key, every time. Now, i’m 4 prints in , and 3 are perfect, 1 is crap due to over-cleaning! I’m dialled in and ready for production
Whilst developing the Commodore 64 mini keycaps and iterating the prints, it came clear that the caps are little buckets that hold quite a lot of resin.
I’ve been holding the keyboard over the tray to drain all this resin out, and it takes “ages”
So, when you can use CAD and have a few 3D printers , you go and spend time developing a widget to optimise the amount of time holding a build plate at an angle!
And by “spend time”, and “optimise”, I mean, take longer doing in CAD than the total amount of time that would have been spent holding the bed in the first place
I present….
60 degrees! version 1
Total amount of time in CAD, and reworking, maybe 3 hours…
Total amount of time holding a bed to drain, maybe 3 minutes.
Number of beds to hold to recoup time in CAD…60!
So, after 60 prints, I’ll have broken even on the time invested in making the thing!
Here it is in action!
Version 1 wasn’t as optimal, it needed shifting over to the left by about 30mm to give far more clearance on the case for everyone not printing 25mm high keycaps to be able to use.
After quite some nervous trepidation, I finally shoved some resin into the printer and achieved my first ever resin print.
And, amazingly, some stuff worked! Significantly more than I’d expected to work actually.
I’ve been quite ‘scared’ of actually starting a print, I‘ve read too much about toxicity and fumes, which aren’t things you want with two young kids.
Well, I spent a couple of hours doing some final reading, and setting up on the dining room table. Levelled the bed, levelled it again. Shoved in the resin and…a Spectacular success for me!
I know the print failed mainly due to poor supports, some text is also too fine. Both were concerns with the cad and the slicer and easily fixed 🙂 there’s probably a dozen other issues I’ve not found yet also (it’s been 30 minutes since I wash and cured them fresh off the printer)
Next step, iterating, optimising . It could be done in a few weeks at print 3, it could be print 10 and take a few months , but now I’m over the first hurdle, onwards and upwards!!
1- The Anycubic Photon Mono board is possibly capable of using a 4K LCD
also, i’ve spotted that Chitu systems sells an ESP8266 module specifically for their boards – it could be that Anycubic plans on selling their own, or just goofed up with the polarity of the header on the board!
And, finally, after all the above, that i’m going to publish anyway, i’ve also spotted