
Always knock up prototypes before doing bigger numbers of PCB’s
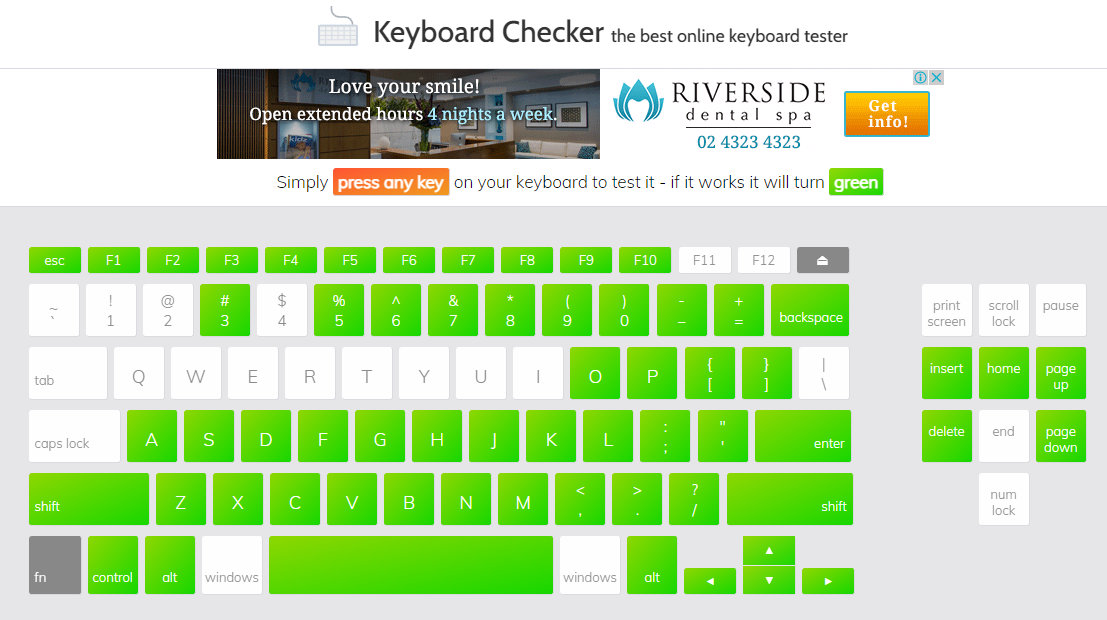
Had a bit of a quandry doing some quick rough testing on the A500 Mini keyboard – some keys just don’t work!
Keyboards are generally made of a simple matrix of ‘rows and columns’ – so spotting patterns in faults makes diagnosis much easier.
Here, most of the missing keys are on Column 2 in the schematic! – so, clearly there’s an issue somewhere with Column C

Which goes to this pin on the raspberry pi

So, using the scope to quickly check all the buttons – seems that ‘something’ stops after button I to prevent button O working……..
Had a quick nose at the schematic and………..(i’ve circled the missing thing)

Yep, I’ve missed the connection between the switches!
Also, i’ve missed another connection or two elsewhere i’ll guess, looking at that 1,2,3,4 buttons not working
Why was this missed?
I’m partly lazy….
Rather than design a whole new symbol and footprint for the switch, I re-used an old symbol – meaning, in the schematic, the switch looks like the below…..
Pins 1&2 are joined internally, as are 3&4 – so really it doesn’t matter if they’re joined on the schematic or not…..

Unless……..you run out of space on a dual layer PCB to join all of the nets up, and you know they don’t matter, so, you ignore the Design Rule Checks (DRC)

I did, thinking that I’d cleverly pick everything up myself!…
But, clearly I didn’t
So lesson is – setup for success – make the schematic correct, don’t do shortcuts, else you’ll increase the chances of failure!
Fortunately, a few small bodge wires can easily fix these silly mistakes for the prototypes and Beta test versions
