Sorry for a lack of News of late…….

Have been having a little bit of a creative Block with the Blinkenator. It’s a typical story where ‘something shiny’ has been spotted and has been taking up the small chunks of time I’d normally allocate to this stuff.
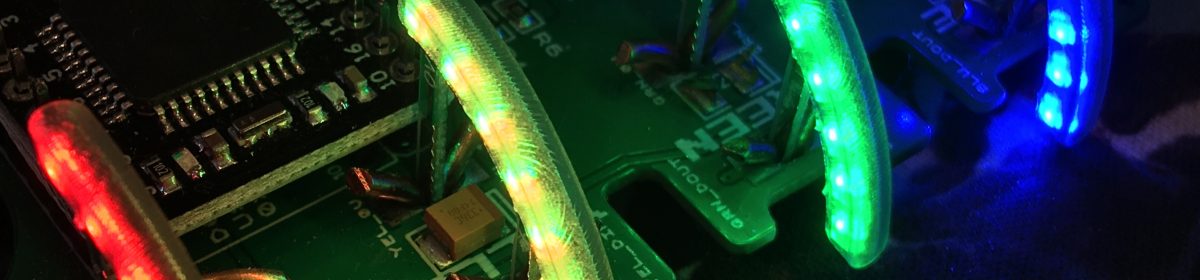
I’m awaiting on those Pogo pins to test the next revision…….But, have also seriously re-thought the programminator / tester device…….And, we have what you see above

The Plan.
40 Pin Raspberry Pi connector will allow some ‘playing’ around with the ESP device, and programming of the Arduino. I’ll need to figure out exactly how to write the software to do it- but, there’s dozens of tutorials out there so i’m confident.
Programming could also be done via a standard 6 or 10 pin ICSP device (that can be bought for a few quid off Ebay) directly on the blinkenator itself, or via the 9 pin connector at the bottom – which breaks out to the Programminator.
The Programminator also utilises the J15 connector of the Blinkenator – This should be a great way of testing the new Pogo pins connections as my Specnext J15 is fairly well shot
There’s 2 new holes – 57mm spaced (same as a Raspberry Pi!) which can sit standoffs which match the positioning on the programminator (rasperry pi footprint)
Took quite a while to get this far – now at least you should be able to see the LED’s doing their stuff whilst connected to a Pi and a test board!

I’m very close now to getting this new board done as a BETA….next step is to print out, test fit and tweak
In other Interesting news, JLCPCB ‘s NEW version of EasyEDA exports OBJ files! I’ve literally just discovered that you can EXPORT a 3D model of your PCB.
That’s a game changer!

Why it’s a Game Changer – Simply use Microsoft 3D builder or Tinkercad (or anything really, those two are just superbly easy to use
Assemble your bits – whack ‘print’ and, send to a 3D printer. Or put into your favourite slicer program and do the same – I’ll have a little bit more of a play tomorrow – it’s 11PM now. Now, to use the Resin printer or the Filament one 🙂
Oh, as for the ‘something shiny’ that’s come along…..Checking the logs in Fusion360, I started back on the 8th February. Since then I’ve easily spent 200+ hours editing, tweaking, Learning. I made the first 3D print last week. There will be many more prints till it’s ‘final’ .
There’ll be a few versions of electronics inside, Basic version will likley be some type of Raspberry Pi – Compute Module , A design is well underway. I’m also possibly thinking of dabbling in FPGA, though a 6 layer double sided PCB is a bit daunting, I’m designing one anyway after gaining a big bit of help from someone who’s already familiar with FPGA’s
I’m being vague as I really don’t know where this one’s going. I’ll need to show this publicly, once it’s done and then see what occurs. I’ll need a new, larger resin printer for sure if it takes off though, it uses the entire build volume of my Anycubic Photon Mono printing off the two larger pieces at an angle!
